Integrate TiDB Cloud with Cloudflare Workers
Cloudflare Workers is a platform that allows you to run code in response to specific events, such as HTTP requests or changes to a database. Cloudflare Workers is easy to use and can be used to build a variety of applications, including custom APIs, serverless functions, and microservices. It is particularly useful for applications that require low-latency performance or need to scale quickly.
However, you may find it hard to connect to TiDB Cloud from Cloudflare Workers because Cloudflare Workers runs on the V8 engine which cannot make direct TCP connections.
Fortunately, Prisma has your back with the Data Proxy. It can help you use Cloudflare Workers to process and manipulate the data being transmitted over a TCP connection.
This document shows how to deploy Cloudflare Workers with TiDB Cloud and Prisma Data Proxy step by step.
Before you begin
Before you try the steps in this article, you need to prepare the following things:
- A TiDB Cloud account and a Serverless Tier cluster on TiDB Cloud. For more details, see TiDB Cloud Quick Start.
- A Cloudflare Workers account.
- A Prisma Data Platform account.
- A GitHub account.
- Install Node.js and npm.
- Install dependencies using
npm install -D prisma typescript wrangler
Step 1: Set up Wrangler
Wrangler is the official Cloudflare Worker CLI. You can use it to generate, build, preview, and publish your Workers.
To authenticate Wrangler, run wrangler login:
wrangler loginUse Wrangler to create a worker project:
wrangler init prisma-tidb-cloudflareIn your terminal, you will be asked a series of questions related to your project. Choose the default values for all questions.
Step 2: Set up Prisma
Enter your project directory:
cd prisma-tidb-cloudflareUse the
prisma initcommand to set up Prisma:npx prisma initThis creates a Prisma schema in
prisma/schema.prisma.Inside
prisma/schema.prisma, add the schema according to your tables in TiDB. Assume that you havetable1andtable2in TiDB, you can add the following schema:generator client { provider = "prisma-client-js" } datasource db { provider = "mysql" url = env("DATABASE_URL") } model table1 { id Int @id @default(autoincrement()) name String } model table2 { id Int @id @default(autoincrement()) name String }This data model will be used to store incoming requests from your Worker.
Step 3: Push your project to GitHub
Create a repository named
prisma-tidb-cloudflareon GitHub.After you create the repository, you can push your project to GitHub:
git remote add origin https://github.com/<username>/prisma-tidb-cloudflare
git add .
git commit -m "initial commit"
git push -u origin main
Step 4: Import your Project into the Prisma Data Platform
With Cloudflare Workers, you cannot directly access your database because there is no TCP support. Instead, you can use Prisma Data Proxy as described above.
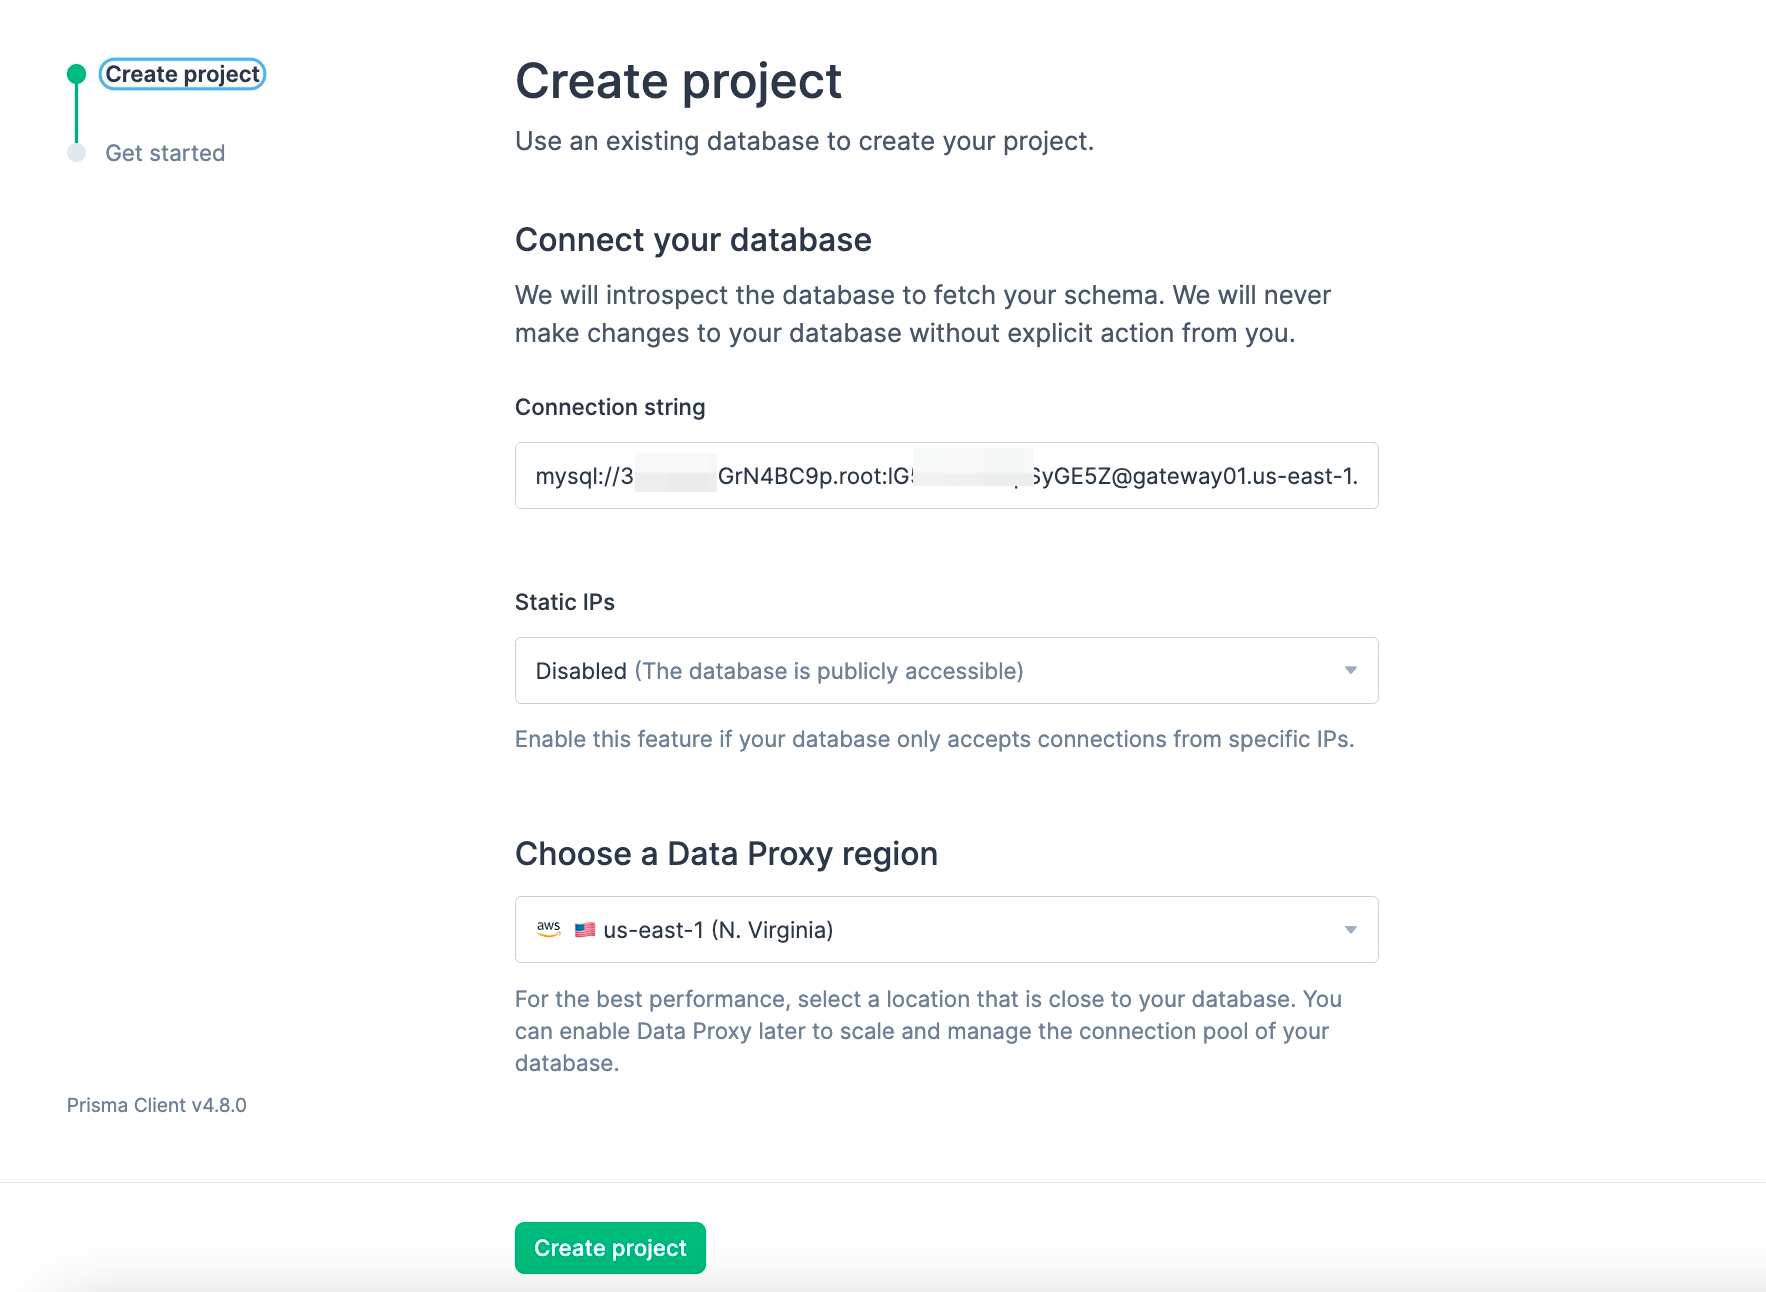
To get started, sign in to the Prisma Data Platform and click New Project.
Fill in the Connection string with this pattern
mysql://USER:PASSWORD@HOST:PORT/DATABASE?sslaccept=strict. You can find the connection information in your TiDB Cloud console.Leave the Static IPs as disabled because TiDB Cloud Serverless Tier is accessible from any IP address.
Select a Data Proxy region that is geographically close to your TiDB Cloud cluster location. Then click Create project.

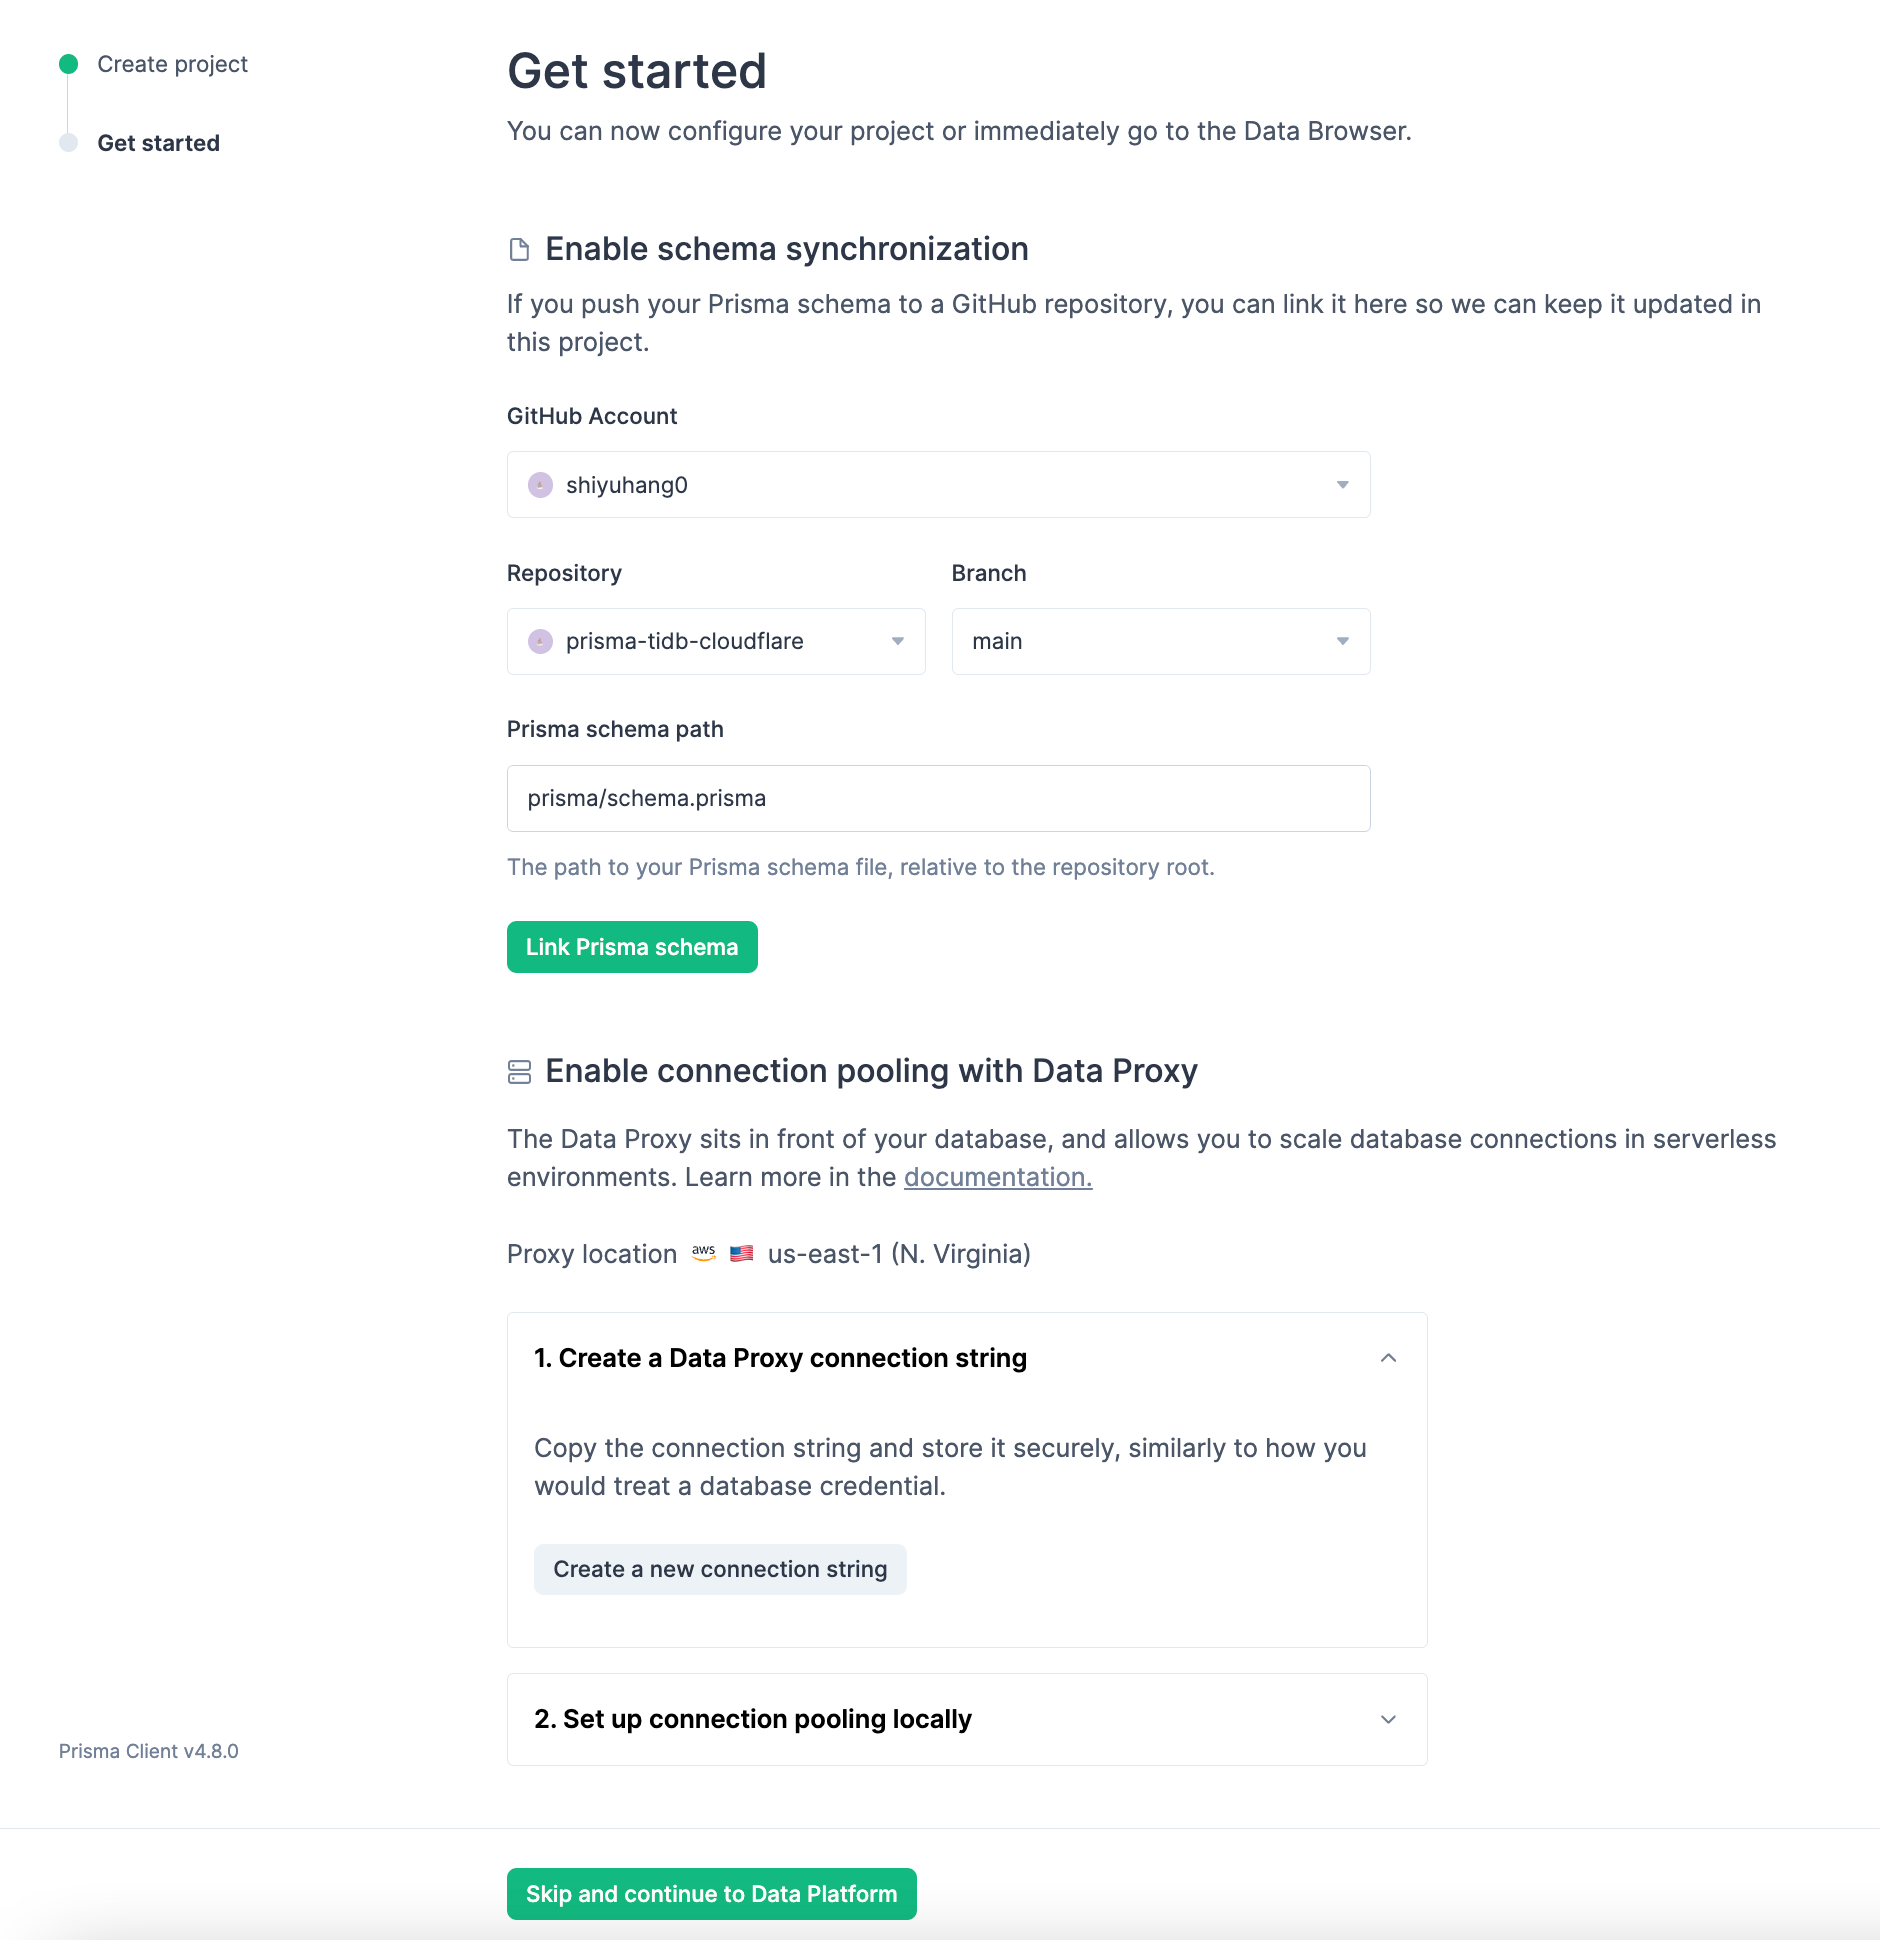
Fill in the repository, and click Link Prisma schema in the Get Started page.
Click Create a new connection string and you will get a new connection string that starts with
prisma://.Copy this connection string and save it for later.
Click Skip and continue to Data Platform to go to the Data Platform.
Step 5: Set the Data Proxy Connection string in your environment
Add the Data Proxy connection string to your local environment
.envfile:DATABASE_URL=prisma://aws-us-east-1.prisma-data.com/?api_key=•••••••••••••••••"Add the Data Proxy connection to Cloudflare Workers with secret:
wrangler secret put DATABASE_URLAccording to the prompt, enter the Data Proxy connection string.
Step 6: Generate a Prisma Client
Generate a Prisma Client that connects through the Data Proxy:
npx prisma generate --data-proxy
Step 7: Develop the Cloudflare Worker function
You need to change the src/index.ts according to your needs.
For example, if you want to query different tables with an URL variable, you can use the following code:
import { PrismaClient } from '@prisma/client/edge'
const prisma = new PrismaClient()

addEventListener('fetch', (event) => {
  event.respondWith(handleEvent(event))
})

async function handleEvent(event: FetchEvent): Promise<Response> {
  // Get URL parameters
  const { request } = event
  const url = new URL(request.url);
  const table = url.searchParams.get('table');
  let limit = url.searchParams.get('limit');
  const limitNumber = limit? parseInt(limit): 100;

  // Get model
  let model
  for (const [key, value] of Object.entries(prisma)) {
    if (typeof value == 'object' && key == table) {
      model = value
      break
    }
  }
  if(!model){
    return new Response("Table not defined")
  }

  // Get data
  const result = await model.findMany({ take: limitNumber })
  return new Response(JSON.stringify({ result }))
}
Step 8: Publish to Cloudflare Workers
You're now ready to deploy to Cloudflare Workers.
In your project directory, run the following command:
npx wrangler publish
Step 9: Try your Cloudflare Workers
Go to Cloudflare dashboard to find your worker. You can find the URL of your worker on the overview page.
Visit the URL with your table name:
https://{your-worker-url}/?table={table_name}. You will get the result from the corresponding TiDB table.
Update the project
Change the serverless function
If you want to change the serverless function, update src/index.ts and publish it to Cloudflare Workers again.
Create a new table
If you create a new table and want to query it, take the following steps:
Add a new model in
prisma/schema.prisma.Push the changes to your repository.
git add prisma
git commit -m "add new model"
git push
Generate the Prisma Client again.
npx prisma generate --data-proxyPublish the Cloudflare Worker again.
npx wrangler publish